VM & VDI Installation
You can deploy the Cyberhaven Windows Sensor by including it in a master image used to create multiple virtual machines (VMs) or virtual desktop infrastructure (VDI). This method ensures that every VM launched from the master image has the Sensor preinstalled and is ready for use.
Install from master image
To install the Cyberhaven Windows Sensor on a master image, first follow the Windows Sensor manual installation steps. After the installation is complete, you must perform additional configuration to ensure that each VM provisioned from the master image has a unique identity. This requires resetting the endpoint ID and access token generated during installation of the sensor on the master image.
Why Reset is Required
Cyberhaven generates a unique endpoint ID and access token during the sensor installation. These identifiers are stored locally and validated by the CyberhavenAutoupdater service.
If the Sensor is installed on a master image and then used to create new VMs or VDIs, those new instances may inherit the same ID and token when the master image is sealed. This can cause the following issues:
- New VDIs may appear in the Console with the same identity as the master image.
- The sensor may not function correctly because Cyberhaven requires each instance to have a unique ID and token.
- If multiple VDIs share the same identifiers, they will be treated as a single endpoint in the Console.
Resetting Endpoint Identity
To avoid issues with the sensor functionality, you must reset the endpoint ID and access token when provisioning a new VM from the master image.
Create a script with the following commands:
net stop cyberhaven
timeout 5
cmdkey.exe /delete CYBERHAVEN_ENDPOINT_ID
cmdkey.exe /delete CYBERHAVEN_ACCESS_TOKEN
net start cyberhaven
This script must be run as a SYSTEM user once on a newly provisioned VM during the first user session.
Automating the Reset
To automate the process of running the reset script, configure Task Scheduler on the master image.
The following procedure describes how to automatically run the reset script whenever a new VDI is provisioned.
Create a batch file that contains the commands that must be run as a scheduled task.
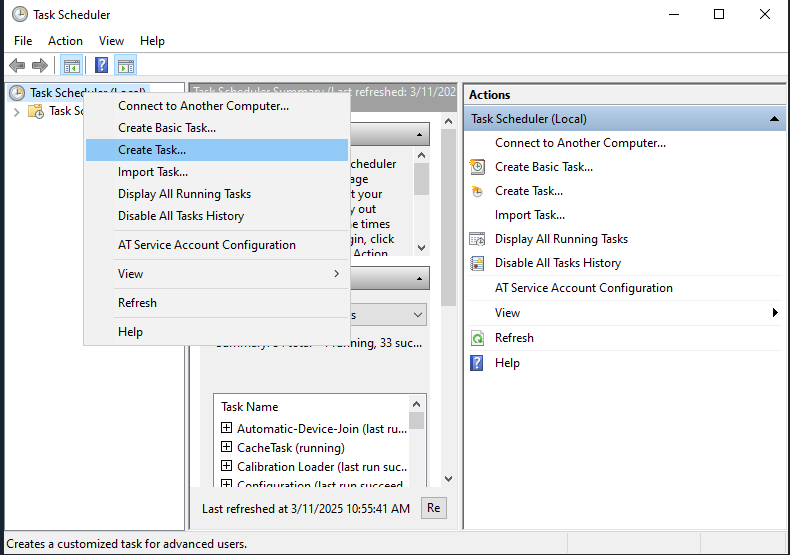
On the Windows machine where the master image is installed, open Task Scheduler.
In the left nav bar, right-click on Task Scheduler and select Create Task.
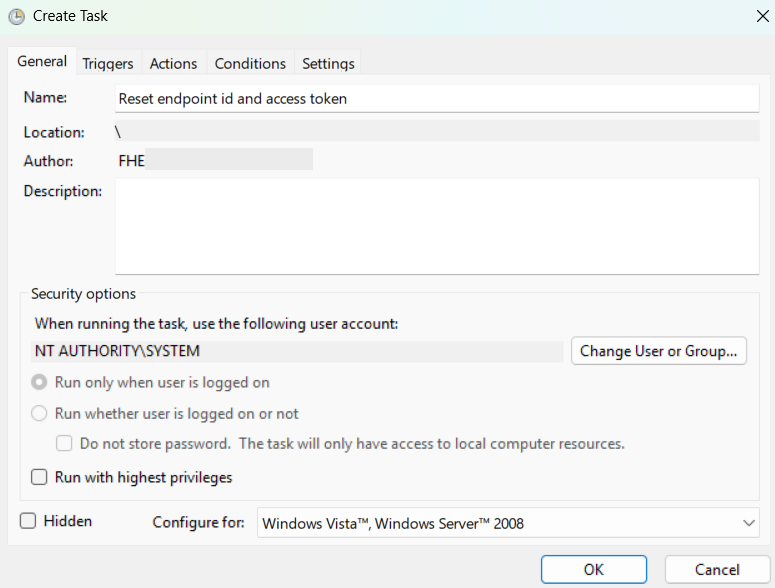
On the General tab,
Enter a name for the task and an optional description.
Under Security options, set the user account to NT AUTHORITY\SYSTEM to run the task.
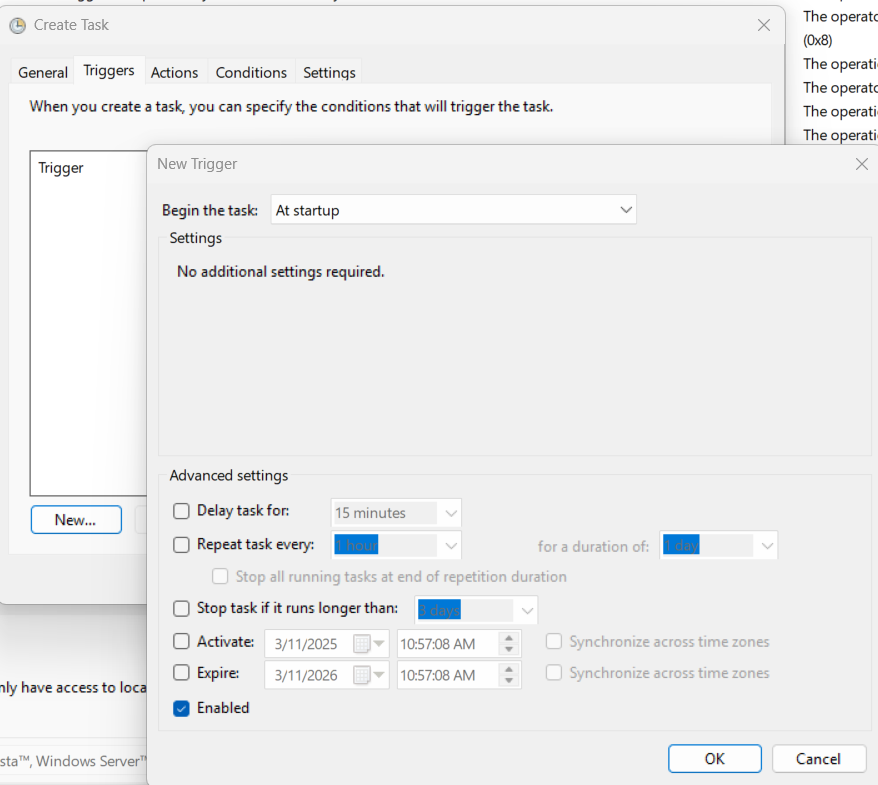
Click on the Triggers tab and click New.
In the New Trigger window, select At startup from Begin the task drop down menu. Verify that the trigger is enabled and click OK.
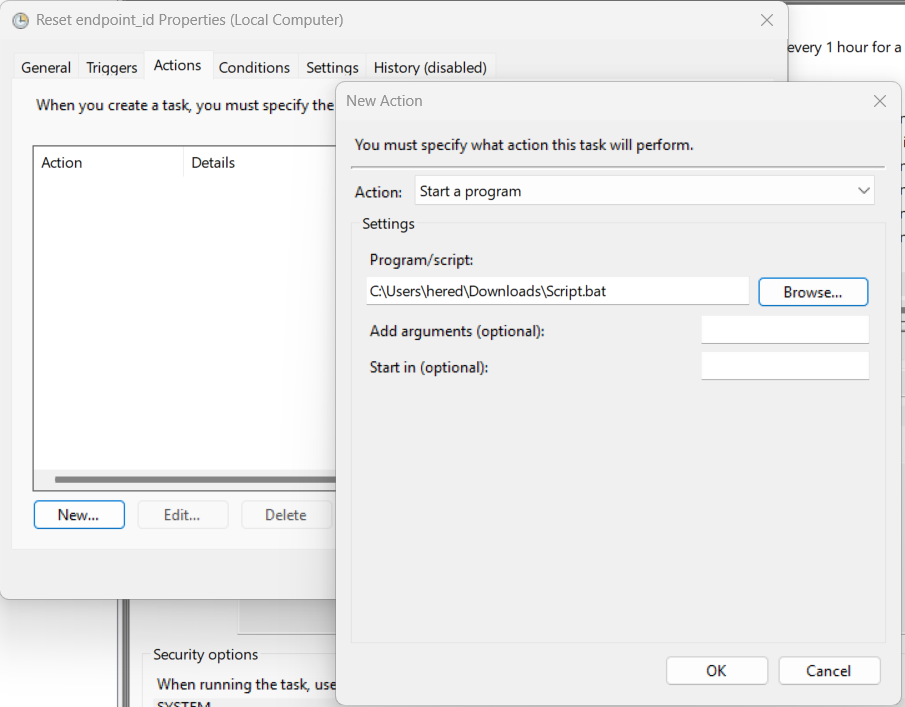
Click on the Actions tab and click New.
In the New Action window, verify that Start a program is selected from the Action drop-down menu. Then, click the Browse button to select the batch file and click OK.
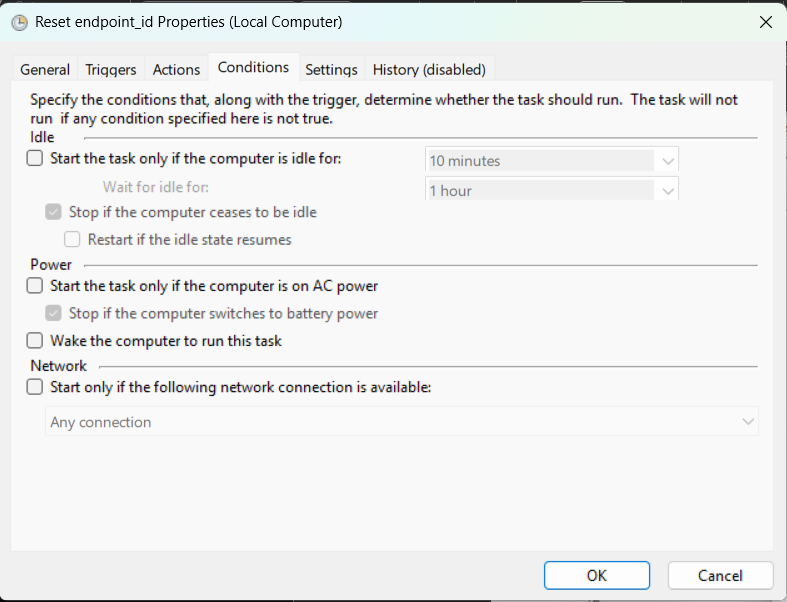
Click on the Conditions tab and keep the default selection.
Click on the Settings tab and match the configuration below. Click OK.
